Hardware
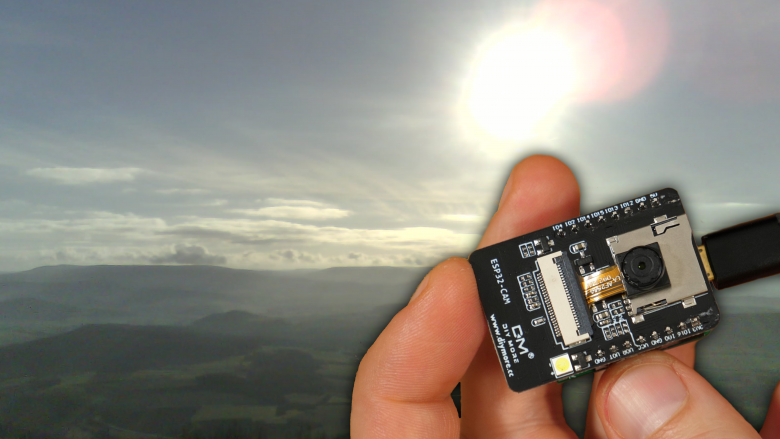
This project is based around the ESP32-Cam. It’s widely spread and costs $6 from Aliexpress. It’s programmed using a USB to Serial converter. Since ESP32 boards need to be reset with GPIO0 to ground to be able to upload a sketch I made a simple programmer that does the resetting and programming all an it’s own. You can get the parts here (affiliate links):
Firmware
The Arduino sketch can be found here:
https://github.com/bitluni/ESP32CamTimeLapse
Before you upload set your wifi credentials in the code (SSID and password). The camera is controlled over an USB interface.
The ESP32 Arduino integration is needed to be able to compile the sketch.
Select following settings prior to uploading
Boards: ESP Wrover Module (for the extra ram)
Partition Scheme: Huge App
That should upload the sketch
If you get packet errors try a lower upload speed.
On uploading open the Serial Monitor. This will show the if the ESP was able to connect to your WiFi and the IP address. This address can be copied in any browser to access the settings. If you are outside you can use the WiFi hotspot function of your smartphone to set everything up. It doesn’t matter if you go away afterwards. The Time-lapse will continue.
Taking Time-Lapses
The firmware is a bit experimental. You can use the preview stream to set the camera up. Try to disable automatic exposure( and white balance) for best results. The higher the quality setting the longer it takes to store a JPG to the SD card. If you set the interval too short the Camera won’t be able to catch up. 3000ms worked ok for me. Filming over longer periods will create a ton of images so consider 10000ms or more there.
Before you start the Time lapse recording turn of the live preview. The additional work load will mess with the time-lapse otherwise.
MP4 from JPG using ffmpeg
Converting the images to a proper video can be done using the ffmpeg encoder. It’s free you can download it here.
A simple command line (windows: type cmd in the start menu) can be used to convert the images into mp4:
ffmpeg -r 60 -f image2 -i pic%05d.jpg -vcodec libx264 -crf 10 -pix_fmt yuv420p lapse.mp4 Copy ffmped into the folder of the images and execute this command there or adjust your paths accordingly. Spaces in paths will create a mess.
If you want to put this command into a batch file like I did add an additional % so the batch interpreter won’t replace the %05 by a parameter:
c:/folder/bla/ffmpeg -r 60 -f image2 -i pic%%05d.jpg -vcodec libx264 -crf 10 -pix_fmt yuv420p lapse.mp4The meaning of the parameters is:
-r frames per second in the final video
-f image processor (ignore that)
-i input files. %05d means if will fill in 00000 to 99999 there. (you can add the parameter -start_number 69 to start from 00069)
-crf quality. lower is better. 10 is already like 80MBs for the highest resolution
-pix_fmt sets the pixel format for mp4 (ignore that)
last parameter is the output file name
!Caution the order of the parameters is important. I had invalid files using another order!